

Most seared scallop recipes start at the stove. That is already too late. Whether you get a deep golden crust or a pale, rubbery puck is usually decided at the fish counter. Scallops sear when their surface is dry enough for the proteins and natural sugars to brown. They steam when there is water in the way. Heat matters, but a screaming pan cannot brown a scallop that is leaking water onto it. It just boils the water faster.
That is why the single most useful thing to know about scallops is the difference between wet and dry. A dry scallop is nothing but the adductor muscle, shucked and packed. A wet scallop has been soaked in a solution of water and sodium tripolyphosphate, a phosphate additive that makes the muscle hold water. The scallop swells, weighs more, and looks whiter and glossier in the case. Processors have to declare the added water and phosphate on the label, and the NOAA Seafood Inspection Program still tests lots of scallops for total moisture because the practice is so common. When you sear a wet scallop, that water comes back out in the pan. You paid scallop prices for it, and now it is steaming your dinner.
The additive itself is not the problem. Sodium tripolyphosphate is a legal food ingredient that the FDA lists as generally recognized as safe. The problem is what it does to texture and browning, and what it hides. Wet scallops taste faintly soapy or bitter, they shrink hard in the pan as the water leaves, and they refuse to crust. Dry scallops cost more per pound because you are paying for scallop, not brine. That is the honest reason the good ones are expensive.
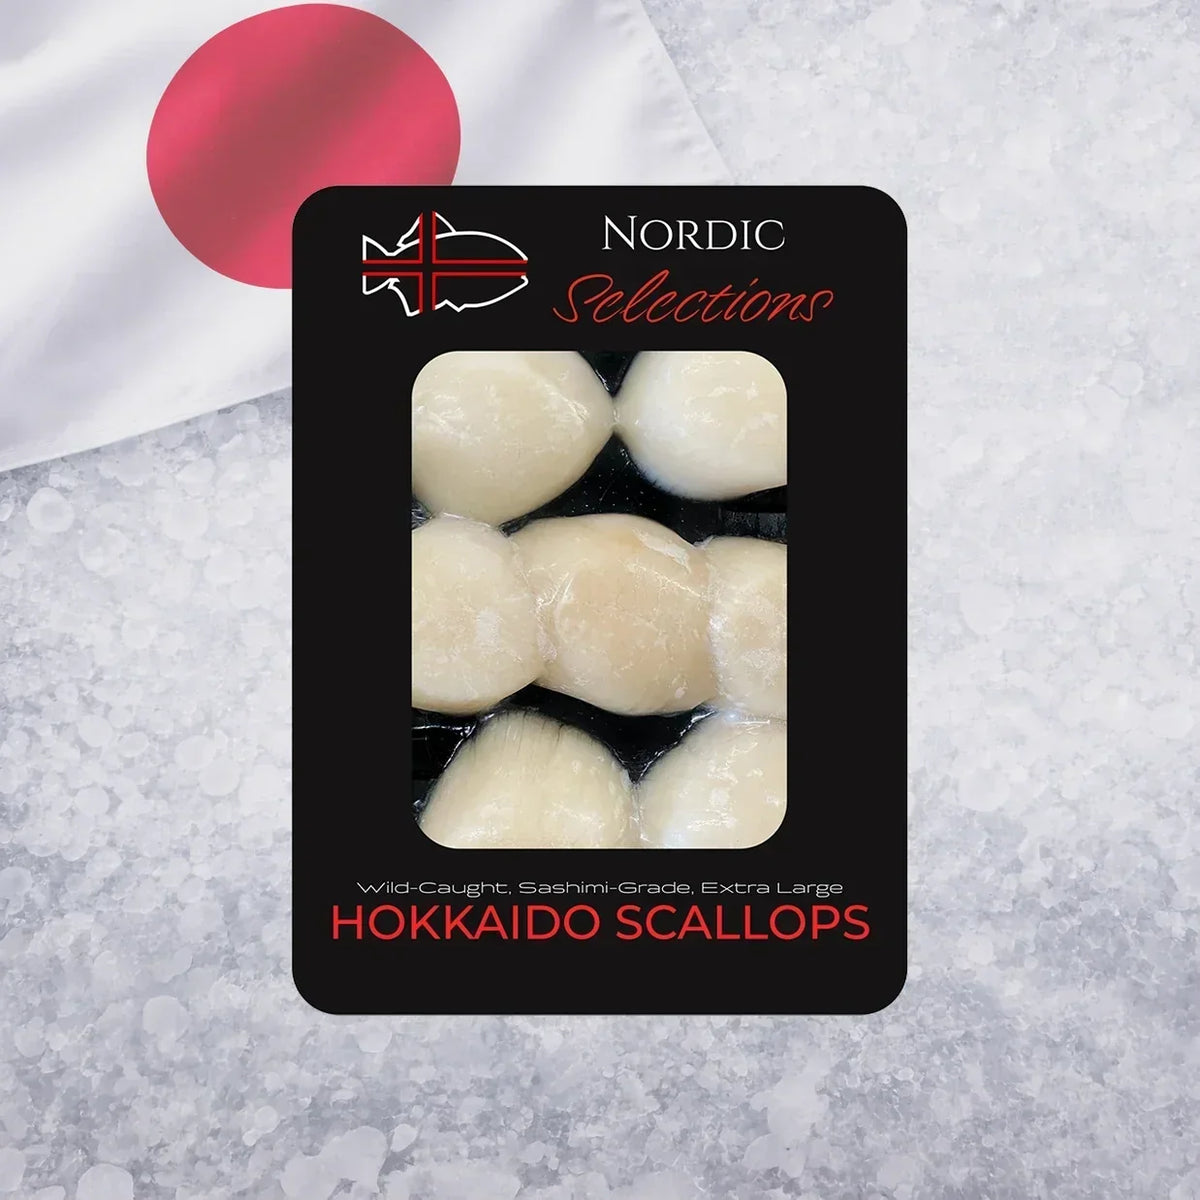
The scallops this recipe is built around are Wild Japanese Hokkaido sea scallops, extra large, wild caught in the cold water off Hokkaido and sold sushi grade. They arrive frozen and vacuum sealed, which is the right call for a scallop that has traveled that far. It also means that when they thaw, they carry surface water you have to deal with, which is where the 30 minutes on paper towels comes in. What you get in return is a thick, sweet, intact muscle with the depth to take real heat without cooking through before the crust forms. If you want to know what seafood should look and smell like when it lands on your porch, our fresh seafood guide covers it.
Because these are sushi grade, you also have an option most scallop recipes cannot offer. Slice one or two thin, raw, while the pan heats, and put them on a plate with a few drops of lemon and a pinch of finishing salt. Raw, a Hokkaido scallop is sweet, clean, and almost creamy, and eating one uncooked is the fastest way to understand why you do not want to overcook the rest. This recipe serves two and takes about 40 minutes, 30 of which are the scallops sitting in your fridge doing nothing. The discipline is in not touching them.
Nutrition
Scallops are lean, high-protein shellfish. Per 100 grams raw, USDA FoodData Central lists about 69 calories, 12 grams of protein and half a gram of fat, with meaningful vitamin B12, selenium and phosphorus. Almost all the fat in this dish comes from the butter and oil you add, so if you want a lighter plate, baste with one tablespoon of butter instead of two and the fat roughly halves. The figures below assume 6 ounces of scallops per person and all of the pan butter on the plate. Estimated values per serving:
| Fats | % DV* |
| Total Fat 19g | 24% |
| Saturated Fat 8.4g | 42% |
| Trans Fat 0.5g | |
| Monounsaturated Fat 8g | |
| Polyunsaturated Fat 1.2g | |
| Cholesterol 71mg | 24% |
| Sodium 1,210mg | 53% |
| Carbs, Protein & Micronutrients | % DV* |
| Total Carbohydrate 6g | 2% |
| Dietary Fiber 0g | 0% |
| Total Sugars <1g | |
| Protein 21g | 42% |
| Vitamin B12 2.4mcg | 100% |
| Selenium 22mcg | 40% |
| Phosphorus 570mg | 46% |
Ingredients
- 12oz (8 to 10) Wild Japanese Hokkaido sea scallops, extra large, dryFeatured
- 1 tbsp Avocado oil or another neutral high-heat oil
- 2 tbsp Unsalted butter, cold, cut in two pieces
- 1 clove Garlic, lightly smashed
- 1 tbsp Fresh lemon juice, plus wedges for the table
- 1/2 tsp Kosher salt
- 1/4 tsp Black Lava Icelandic Sea Salt, to finish
- 1 tbsp Chives, thinly sliced
Preparation
Start the night before. Move the sealed bag from the freezer to a plate on the bottom shelf of the fridge and let it thaw slowly, 12 to 24 hours. Do not thaw scallops on the counter or in hot water. Slow thawing keeps the muscle fibers intact and gives you a firm scallop that sears instead of a soft one that weeps. If you need them faster, our guide to safely thawing seafood covers the cold water method. Once thawed, look at each scallop. On the side you will often find a small rectangular tab of tougher muscle, sometimes called the foot or side muscle. It runs against the grain of the rest of the scallop and turns rubbery when cooked. Pinch it and pull. It comes away clean.
Now the step that matters most. Lay the scallops in a single layer on a double thickness of paper towels on a plate, flat side down, and put them back in the fridge uncovered for 30 minutes. Cold, dry fridge air pulls moisture off the surface the whole time. When you take them out, the towels will be damp and the scallops will feel tacky rather than slick. That tackiness is what the pan needs. Season only right before they go in, because salt draws water to the surface, and you just spent half an hour getting it off. Before you light the burner, have everything within arm's reach. Here is what to have ready:
- Thaw the sealed bag overnight in the fridge, never on the counter.
- Pull the small side muscle off each scallop.
- Rinse only if you see grit, then blot immediately.
- Rest them on paper towels, uncovered, in the fridge for 30 minutes.
- Cut the butter into two cold pieces and smash the garlic clove.
- Set out a 12-inch stainless or cast iron pan, tongs, and a warm landing plate.
How to Cook
Use a heavy stainless steel or cast iron pan, 12 inches wide, so 8 to 10 scallops sit with at least an inch between them. Nonstick pans do not get hot enough for a real crust. A crowded pan drops in temperature and traps steam, which is the same failure as a wet scallop with a different cause, so cook in two batches before you cook in one crowded one. The same pan logic applies to fillets, which we cover in our guide to the best ways to cook fish.
-
Dry, then season
Take the scallops out of the fridge and press each one between fresh paper towels. Then do it again. The surface should look matte, with no shine at all. Season the top side with half the kosher salt. Leave the pan side unsalted until it is on the heat, because salt starts pulling water out within a minute, and a wet pan side is exactly what you have spent 30 minutes avoiding. Set them on a dry plate in the order you plan to lay them down, so the first one in is the first one flipped.
-
Heat the pan hard
Set the pan over high heat for two to three minutes, then add the oil. It should shimmer and send up the first faint wisp of smoke almost immediately. That is your signal. Lay the scallops in clockwise from the handle, flat side down, not touching. Press each one gently with a spatula for two seconds so the whole face meets the metal, then salt the exposed tops. You should hear a sharp, dry sizzle. A wet hiss with liquid bubbling around the base means they were not dry enough.
-
Do not touch for 90 seconds
Leave them alone. Do not slide, shake, or peek for 90 seconds. A crust forms when the surface stays put against hot metal long enough to brown, and every nudge resets the clock. At 90 seconds, lift the edge of the first scallop with tongs. You want a deep golden brown, the color of a good croissant. If it is pale, give it 20 more seconds. Flip in the same clockwise order. The seared side should release with no resistance; if it sticks, it is not finished browning. Cook the second side 60 to 90 seconds.
-
Butter baste and pull
With about a minute left, drop in the cold butter and the garlic. Tilt the pan so the butter pools and spoon it over the scallops as it foams. Pull them when an instant-read thermometer in the center reads 125F to 130F. Without a thermometer, look at the side: the edges are opaque with a faint translucent band at the very center, and the scallop springs back like the base of your thumb. Move them to the warm plate, add the lemon juice to the pan off the heat, swirl, and spoon the pan butter over. Rest one minute, then finish with black lava salt and chives.
How to Serve
Serve within two minutes of leaving the pan. Scallops keep cooking on a warm plate, and the gap between a perfect center and a rubbery one is under a minute of carryover heat. Plate them crust side up so the color shows, spoon the lemon butter around rather than over them so the crust stays crisp, and put a few black lava crystals on each one where the light catches. Eight to ten seared scallops for two is a main course, not a garnish.
- Warm the plates in a low oven for five minutes. A cold plate pulls heat out of a small piece of protein fast.
- Crust side up, always. The seared face is the whole point, so do not bury it under sauce or greens.
- Cut one scallop in half at the table. A pearly, just-opaque center is what the 30 minutes of drying bought you.
What to serve it with. Scallops turn sweet and rich once they meet butter, so the plate wants acid, a little bitterness, or a clean starch to sit against. Four that work:
- A soft parmesan risotto or buttered pearl couscous, so the pan butter has somewhere to go.
- Sauteed spinach or blistered green beans with lemon zest, cooked in the same pan after the scallops come out.
- Corn or pea puree in summer. Sweet on sweet works when the scallops carry a hard crust.
- A crisp, dry white such as Muscadet, Chablis, or a dry Riesling. Skip oaky wines, which fight shellfish.
Seared scallops are best eaten the moment they are done, and reheating almost always overcooks them. If you have extras, cool them within 30 minutes, refrigerate in a sealed container, and eat within one to two days, cold, sliced into a salad or over rice. Do not microwave them. Thawed raw scallops should be cooked within a day or two of thawing and never refrozen once thawed. For the full timeline on what keeps and for how long, read our guide to how long seafood lasts in the fridge.


